No products in the basket.
Ceiling Tiles and Grid Systems | FREE Delivery **
Basket
Suspended Ceiling Installation
Date Published: . By UK Suspended Ceilings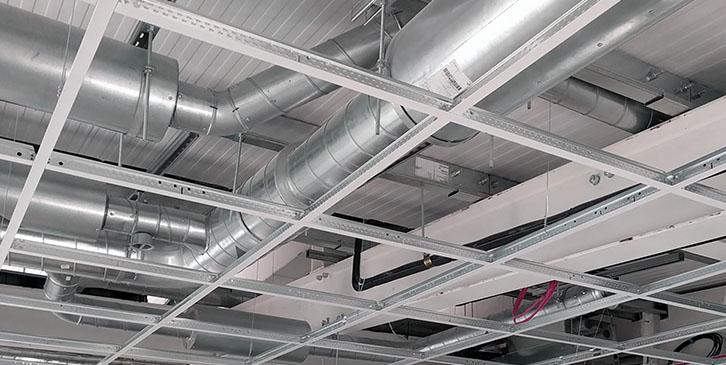
Suspended Ceiling Installation Guide
A Suspended Ceiling or Drop Ceiling is nothing to fear! Anyone practically minded or handy with DIY projects will be able to install a Suspended Ceiling System. To make it even easier for all our customers, we’ve used our 25+ years of experience and put together helpful step-by-step instructions to help you on your suspended ceiling journey.
What do I need to Install a Suspended Ceiling?
- Tape Measure
- Spirit Level / Laser Level
- Drill / Screwdriver
- Tin-snips
- Stanley Knife
- Safety Glasses
- Heavy Duty Gloves
- Pen / Pencil for marking out
Steps to Install a Suspended Ceiling
- Step 1: Planning & Design
- Step 2: Installing Perimeter/Edge Trim
- Step 3: Fixing the Suspension Points for the Main Runners/ Main Tee Bars
- Step 4: Installing the Main Runners 3600mm (Main Tees)
- Step 5: Installing the Cross Tees 1200 & 600mm (Noggins)
- Step 6: Fitting the Ceiling Tiles
Step 1. Planning & Design
The first step, is planning and designing a suspended ceiling suitable for the environment. We have a simple to use ceiling calculator. It will simply work out your requirements of the project. Please find below the information needed:
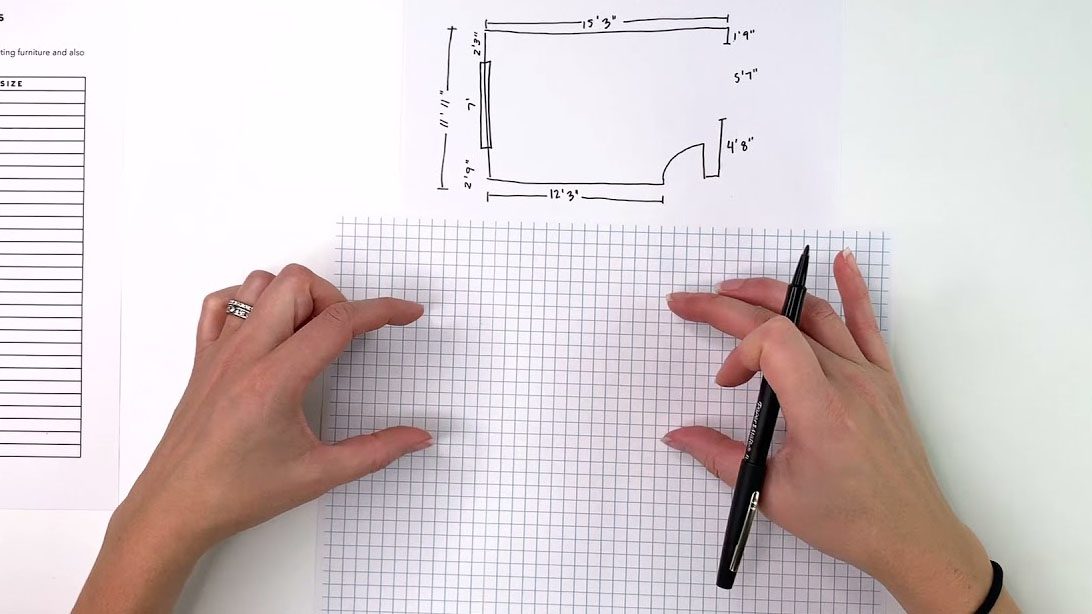
- The dimensions of the room(s) you will be installing your ceiling into.
- If providing a plan to us, please draw the dimensions as close to scale as possible. Graph paper can help you with this.
- You can choose from either a 600mm × 600mm or a 600mm × 1200mm tile configuration. The type of tile will determine the Ceiling Grid requirements for your ceiling.
- Remember whichever option, you must set the Main Runners at 1200mm centres.
- Position the tees so that the cuts around the perimeter are equal on both sides. This will make it easier to cut the tiles to size.
- If you are using a 600mm × 1200mm tiles, space the 1200mm cross tees 600mm apart. For a 600mm × 600mm ceiling tile, add 600mm cross tees between the midpoints of the 1200mm cross tees.
- If you are also putting Recessed Lights/LED panels/ Prismatics or Air Vents in the ceiling now is the time to plan where they will be going as it’s easier to move the position of these on paper first.
Step 2. Installing Perimeter/Edge Trim
The second step is to install your Edge Trim around the perimeter of your room.
- Before installing the suspended ceiling, the height must be determined.
- A minimum of 100mm clearance between the ceiling grid and the ceiling it is suspended from.
- You will need additional clearance from the ceiling, when installing recessed lights and LED panels. We recommend 200mm – 300mm
- When you are satisfied you are happy with the height of the ceiling, use a level to draw a line around the room indicating where the Perimeter Trim will be fixed.
- If you are able to use a laser level this will give you the best results. It will also cut down on the time it takes to complete the installation.
- Fasten the perimeter trim securely to the wall at all points. Masonry nails for block walls or drywall screws stud walls is recommended (@ 350mm centres approx.).
- Position the perimeter trim to your level line, ensuring that you keep the perimeter trim as square as possible to prevent problems in the future.
- When you come to the corners where the trims meet, overlap them. Then, with the use of your tin-snips, cut the bottom perimeter trim at an angle to give a mitered finish.
Step 3. Fixing the Suspension Points for the Main Runners/ Main Tee Bars
The third step, now that you have successfully fitted your Edge Trim, is to measure out your suspension wire and plot the points at which you will be suspending your ceiling.
- Measure and mark out the position of each Main Tee along the perimeter trim.
- The clips on the end of the Main Runner have to be cut off on the end that will rest on the trim.
- Now secure your:
Ceiling Brackets – if the ceiling is to be suspended from Timber Joists.
Purlin / Flange Clips – if the ceiling is suspended from Metal Purlins.
Wire Hangers – if the ceiling is suspended from Concrete. - You will need to straighten the suspension wire to enable you to hang the Main Runners.
- If you can secure a hook or vine eye into a drill you can attach a length of wire to a fixed secure point, The other end is wrapped around the hook of the vine eye in the drill. When you spin the drill, this will pull the wire straight. IMPORTANT – Please only do this until the wire is straight. Over tightening this can snap the wire. ALWAYS ensure that you wear safety glasses and gloves when doing this.
- Measure how long the wire has to be cut based on the drop you originally calculated (the distance from the original ceiling to the new suspended ceiling).
- Add 300mm to the length you need to allow you to have plenty of wire to wrap around to secure the Main Runner.
- Fix the wire to the fixings that have been provided by putting the wire through the location holes and securely wrapping the wire around.
- Give the wire a hard tug to confirm it is secure.
- Fix the first suspension wire for each main tee at 400mm – 600mm from the perimeter trim. Check the drawing we have provided you with for the locations.
- Attach a suspension wire every 1200mm along the line of the main runner.
Step 4. Installing the Main Runners 3600mm (Main Tees)
The fourth step to installing your suspended ceiling, is to fit your main runners into your edge trim to form the foundation of your grid system.
- Main Runners are 3600mm long and have slots at every 100mm for your Cross Tees to fit into. These will begin 50mm from each end.
- Put the first Main Runner in the place closest to the Perimeter Trim. Ensure the slot for the first Cross Tee is in line with the location of the Cross Tee.
- Proceed to measure and cut the Main Tees to size. Always check that the slots on the Main Runner are in line with locations or the Cross Tees.
- Use a string line across the room, to show where the first row of Cross Tees will be located. This lets you know where the first pre-punched slots need to be.
- Place the Main Tee on the Edge Trim/Wall Angle.
- If the room that you are installing the ceiling in is shorter than 3.6m long, cut the Main Runner to size. If you need to do this remember that the clips on the end will have to be removed also.
- For rooms wider than 3600mm, Main Tees can be joined together.
- Install the Main Tees, making sure they are all level with the perimeter trim already mounted. To do this, stretch a line from wall trim to Main Tee at 90 degrees.
Step 5. How to Install Cross Tees (1200mm) Cross Tees (600mm)
The fifth step, once your Main Runners are all connected into your Perimeter Trim, is to connect your Cross Tees into the gaps within your Main Runner.
- The Cross Tees connect to the Main Runner by fitting into the slots.
- Depending if you have selected to install a ceiling with 600 × 600 or 600 × 1200 this will determine the location of the Cross Tees.
- To install the Cross Tees, The 1200 Cross Tees go into Main Runner & 600 Cross Tees go into centre slot of 1200 Cross Tees, this will form 600 x 600 squares.
- If you are installing 1200 x 600 tiles this will sometimes mean that you do not have to use any 600 Cross Tees and vice versa. On smaller 600 × 600 Ceilings 1200 Cross Tees may not be needed.
- Before cutting and fixing the perimeter cross tees, drop a few full tiles into the grid to ensure the grid remains square.
- The perimeter Cross Tees are cut to size and rest on Edge Trim/Wall Angle.
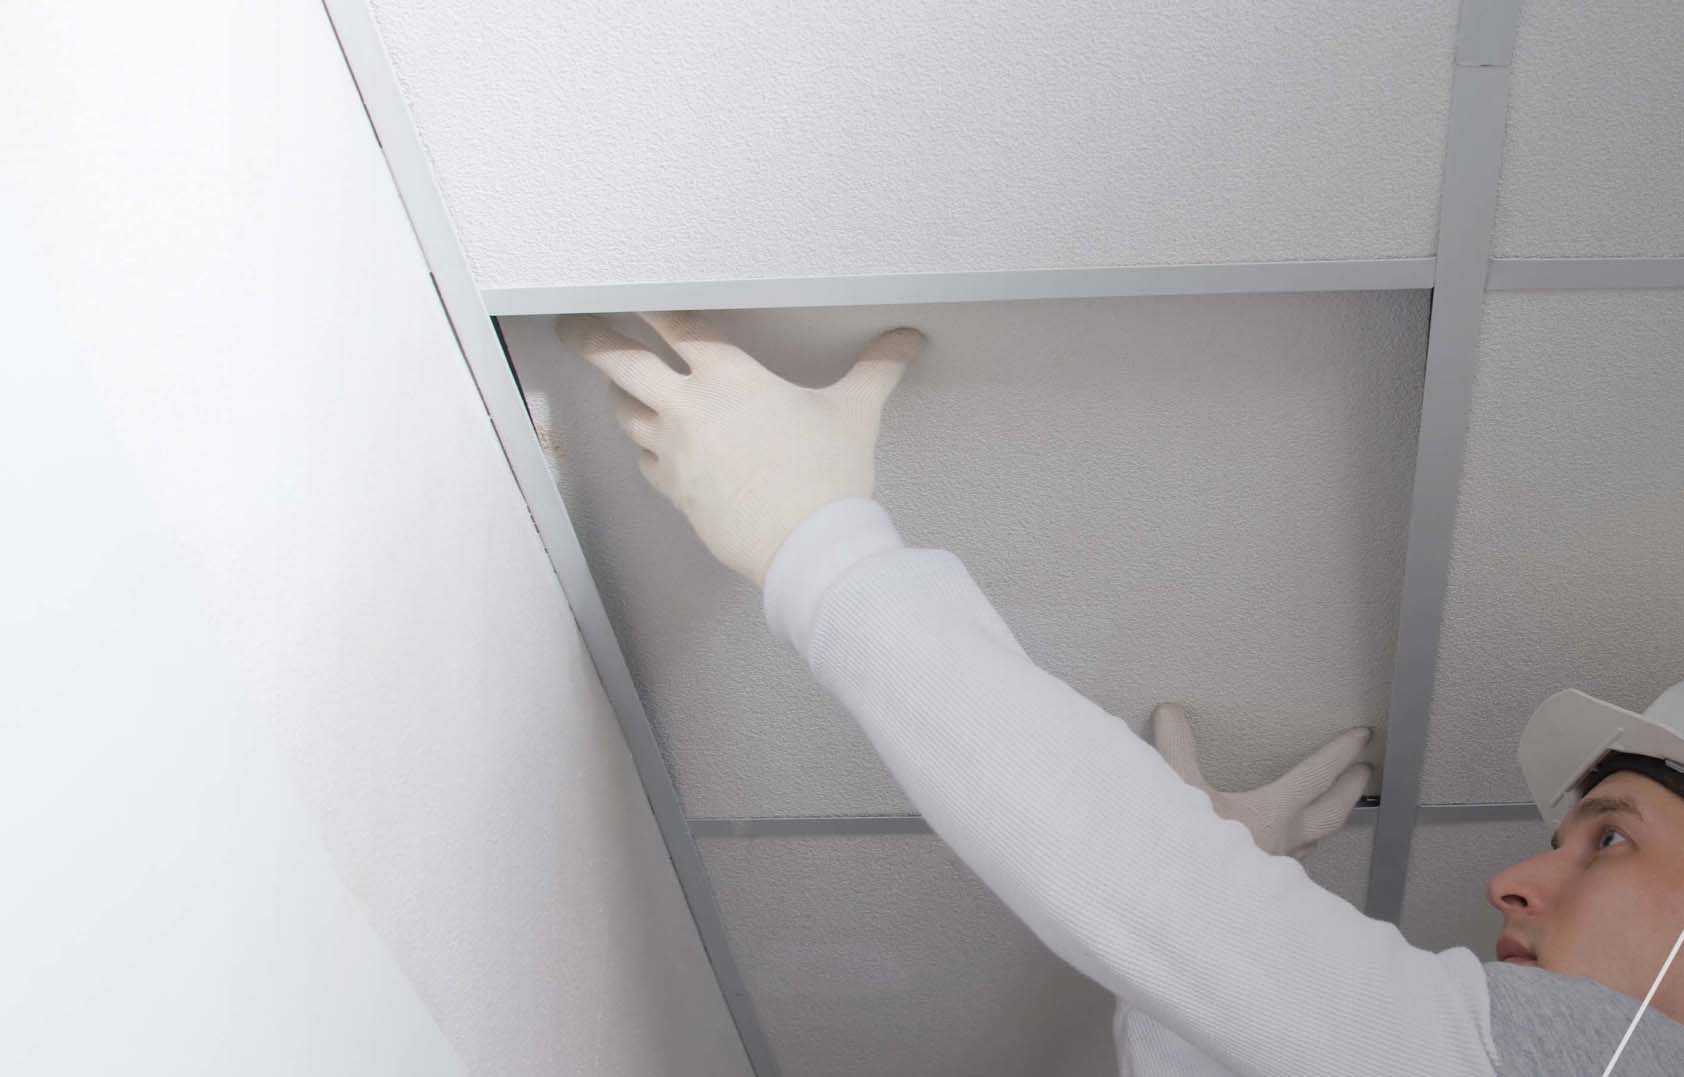
Step 6. Fitting the Ceiling Tiles
The sixth and final step is to fit your Ceiling Tiles in the newly created Suspended Ceiling Grid.